Saturday, December 31, 2016

Dash Cam install into 2015 Challenger Scat Pack

Santa (my wife) was good to me this Christmas and delivered a dash cam for Renny, my Steel Curtain Challenger.

I wanted a 2-camera system with Park Mode, primarily because I'm anal as heck about my car and have seen too many examples of how people around NoVa (Northern Virginia) are careless, stupid, or just plain petty (or a combination of the three) when they see a car someone has obviously taken great pains to keep clean and good looking.

I also wanted a dash cam that could replace my daughter's Go-Pro I have been using at the track.  She's been accepted into the Peace Corps and is shipping out in April, and I fully expect her to take her Go-Pro with her.

After a great deal of research (who knew there were so many blog sites and forums dedicated to dash cams?) and feature/price comparisons, I decided on the BlackSys CHB-100 B.

HINT:  Blackboxmycar.com is one of the most professional and thorough websites I've found for both learning about and purchasing a dash cam.  I read their reviews on both the  Blackvue DR650GW-2CH and the BlackSys, and while they hold the Blackvue as the reigning premium dash cam, they said the BlackSys is in every way comparable, but at a better price.

As you can see in the back row of the picture above, you get more than enough cable to install these cameras.

Starting on the left, back row:  Front camera with GPS mount, Rear Camera, 16' cigarette power cord, 20' Rear Camera cord.

Starting on the left, front row:  A Moto Park "Multi-safer" hard wire kit (control module not shown), and yellow 18 gauge electrical wire.  Yellow for an installation reason, not because the Steelers are "Black & Yellow".

DISCLAIMER: I am a DIY "Jack of all trades, Master of none" kind of guy.  I have no electrical training, just hands-on experience, which has gotten me into trouble in the past.  Real electricians may scoff at my approach, but my car hasn't burned up (yet) and everything I've installed still works...so take the following with a grain of salt and think things through for yourself.

Installation was overall quite easy.  I had one problem that stumped me for a while (I'll mention it at the proper point in this narrative), but this is definitely a job you can do yourself.

The BlackSys 100-B 2 comes as mentioned with a cigarette plug, but I didn't want cords hanging, and I especially wanted the camera to run when the car was parked, but I also didn't want it to drain my battery.  This required the Moto Park "Multi-Safer" which allows you to set a cutoff baseline both with voltage (I chose 12.2v) and time (I selected 6 hours).  This device also allows you to manually turn off the camera with a push of a button.

First, I soldiered the yellow 18 gauge wire spool to the hard wire kit's wire harness.  The vast majority of dash cameras use yellow wire for the B+ or battery powered source; it's always on.  Red is typically used for the Accessory power source, which is on only when engine is on.

Because this is a car-related project, I always solder electrical connections, taps, splices, etc.  No matter what car you drive, everything bounces and jostles to one degree or another, and soldering is the only way to ensure a solid connection.  I also use heat-shrink tubes to further protect any connections.

Second, I left enough extra wire in the driver's footwell to allow me some room for error, then strung the yellow spool behind the plastic trim along the side and underneath the plastic door sill.  A simple plastic trim tool allows you to pop the clips on the door sill and loosen the piece along the side of the footwell to run wire.  Only cautionary tip is make sure your wire isn't caught by the clips when you reinstall the plastic trim.


Third, I lowered both back seats, and emptied out my trunk, removing the carpeted floor and the black plastic woofer-delete box that holds the tire pump and fills the bottom of the trunk well.  This allowed me to gain easy access to the entire trunk area (I'm 6' tall, weigh 225 lbs and could sit easily in the trunk).  From the back seat area I elected not to loosen or remove the B Pillar or C Pillar plastic trim; I felt there was enough play along the edge that I could push and tuck the wire into invisibility.

Once I got into the trunk area, I climbed out and worked from rear.  In the first picture you can see the plastic trim tool I mentioned; it's pointing to the left-most carpet pin which I used as a "pivot post" to turn my wire 90 degrees to run it across the width of the trunk to the passenger side where, ultimately, it came to the fuse box.


HINT: In the 2015+ Challenger Scat Packs (and presumably all Challengers), Fuse #12 - 20 Amp - Power Outlets (selectable) is factory placed in ACC position (Accessory) but has the capability of being moved slightly to become a B+ fuse, meaning always powered.


I pulled Fuse 12 (noting the direction it was facing); I then took an "Add-a-Circuit" fuse tap and inserted it into slot 12 and partially replaced the fuse box cover and marked its position.  I then dremeled a slot for the fuse tap to stick through, allowing me to later fully close and secure the fuse box cover.  Along the way, I zip-tied my yellow wire to the existing wire harness to secure it.

 HINT: Fuse taps typically come with a butt-clamp (blue tip at end of red wire in picture below) connection with which to splice your wire into it.  I have never trusted these, especially when splicing a smaller wire (higher gauge number) into it.  I cut mine off, cut my yellow wire to length and soldered the two together. 


Fourth:  "The Hunt for a Ground Connection"...Frankly, this was the second most troublesome portion of the job. There is no decent ground connection under the driver side dash!  Oh, there was a Parking Brake bolt, but reaching it was a b*$%! (I was so contorted trying to loosen this dang bolt that when I sneezed, I pulled a rib muscle).  This is where my lack of tools and electrical knowledge first slowed me down.  I finally found an old multi-tester but it was broken, so I had no way of testing for a ground.  That and the entire inner surface of the footwell (beneath the carpet) is rubber coated and most of the parts under the dash are plastic.  I have no Tip for you as to where to find a ground.

I had one from when I pulled wires in from the engine bay to power my cutouts, so I tapped into that one.  Let me tell you, laying across the door sill with a pulled rib cage while gently shaving the plastic coating off a crucial wire with an xacto knife is no picnic.  But that's what I did...you'll have to find a ground wire on your own....Sorry.

Fifth, I pulled the fabric trim panel off underneath the dash; it has two push pins that need a steady but firm tug to pull them out.  From there, I routed the length of my yellow power wire that I earlier stated I had left there, behind the 3 pedals (mine's a manual, remember) and parking brake.  I've tucked all these wires up behind the radio head unit; the fabric panel will catch them if somehow they bounce and jostle from there.

From this point, it's time to figure out camera placements and run wires underneath the headliner (oh, goody!).

Actually, this was the easiest part.  The BlackSys comes with a wi-fi program for smartphones; this allows you to stream live shots from the camera.  I used this nifty function to aim the cameras and mark on the glass where I wanted to mount them.  I cleaned the glass, applied 3M double sided tape to the cameras (mine's black; the unit comes with a light gray tape that I felt would be more noticable; I'm going for the stealth look), and affixed both cameras (pics at end).

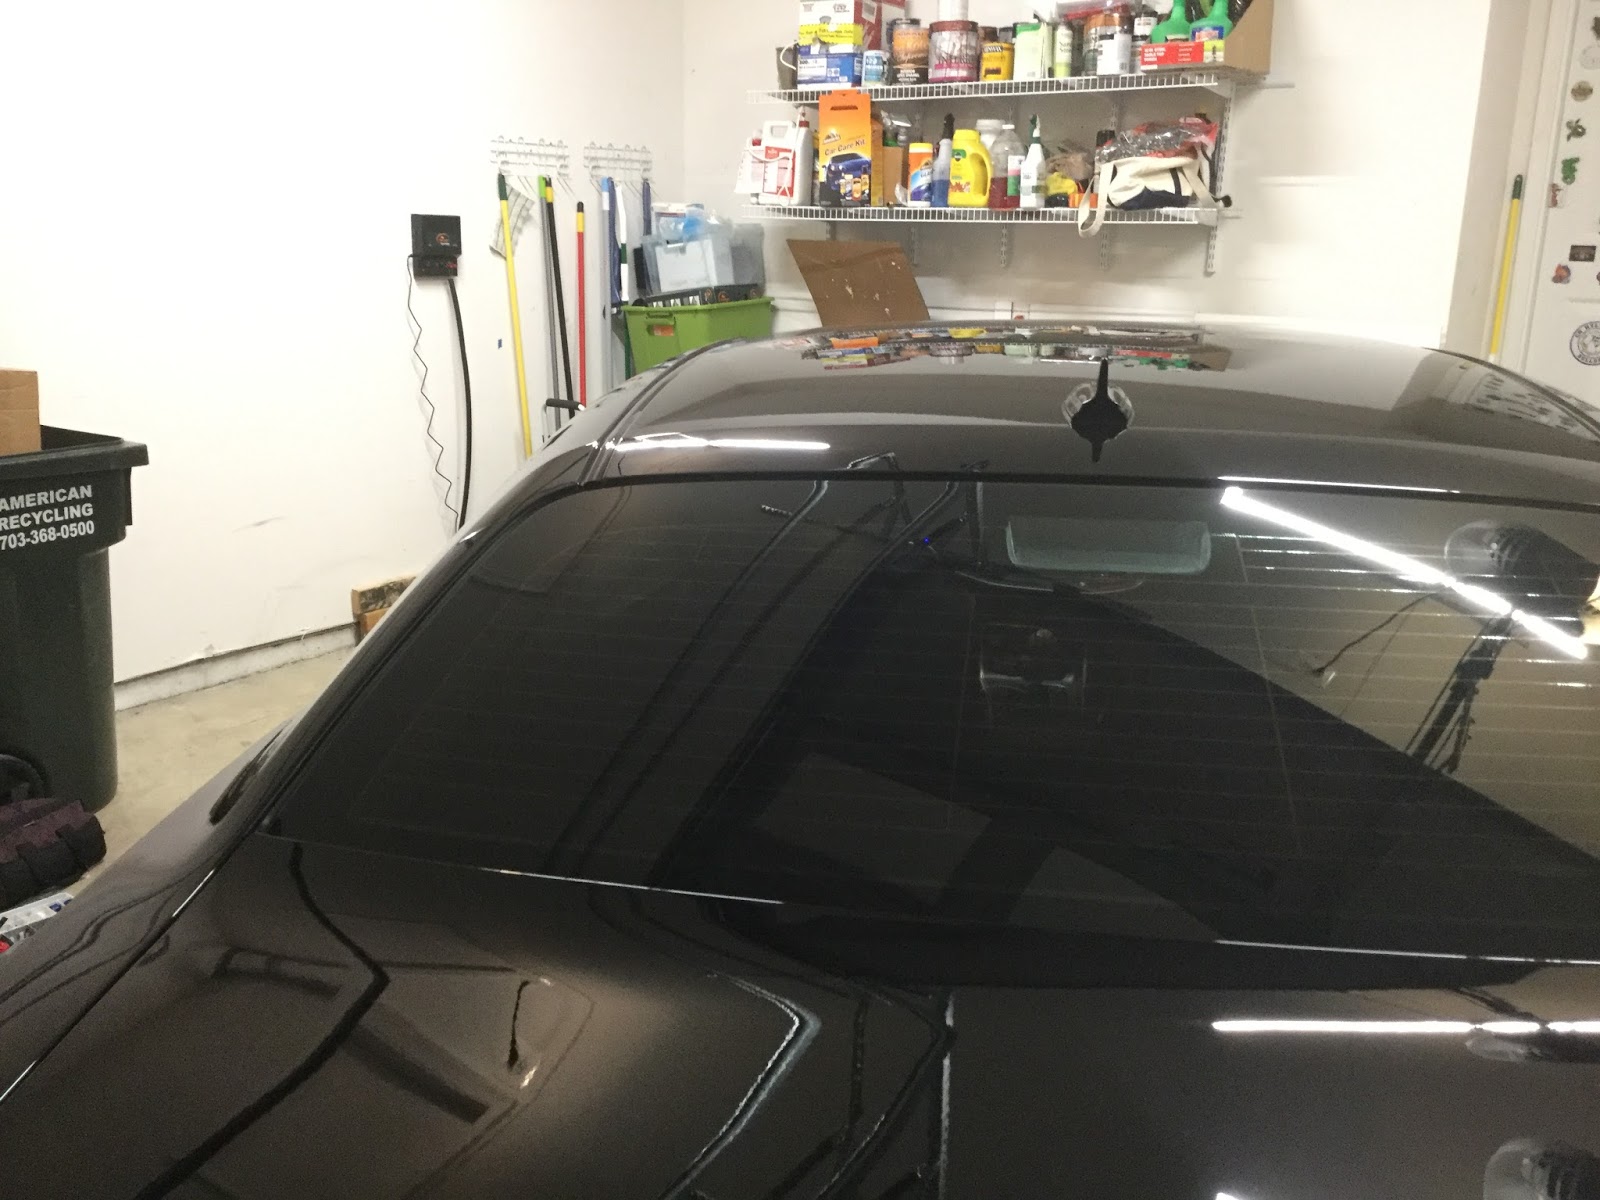
With the cameras mounted, I plugged in the cords and began tucking them along the top of the windshield, behind the A pillar (windshield edge) trim, (1) for the front camera down the A pillar, behind the dash and door trim pieces, and then zip-tied it to the yellow power wire underneath the dash; (2) for the rear camera cord, and up underneath the headliner where it runs across the door opening, then again behind the plastic trim of the B and C pillar, then behind the headliner across the top of the rear window.  While I'm thankful for the (more than) sufficient length of rear camera cable, it was a bit of a chore stuffing all the extra wire inside the headliner....but better that than being 8 inches too short!

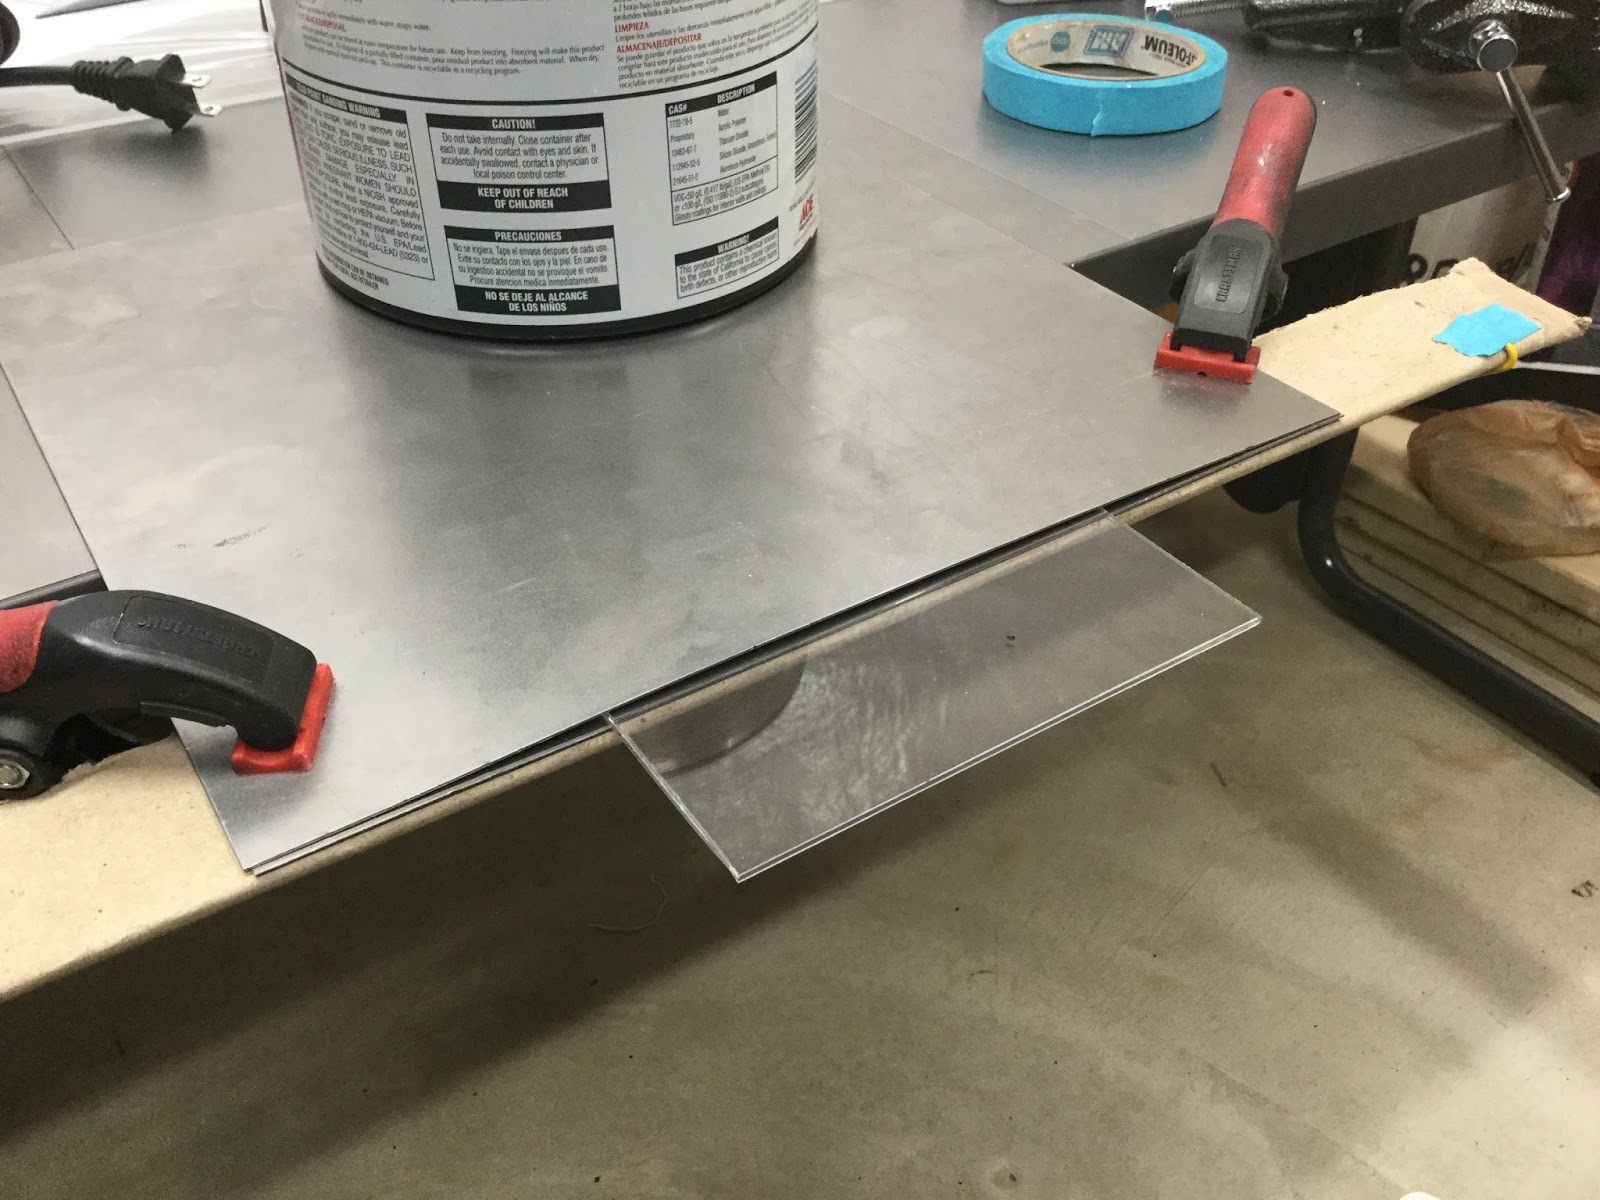
Now back to the wiring......SIDE PROJECT: Those of you who've seen my car know I have my cutout main switch under the dash near where my right knee goes;  it is a lighted rocker switch.  Up till now, I've always been bugged by how loose it's sat, even though I used 3M tape to affix it to the lip of the plastic dash trim.  Here's why:  that lip is only about 1/2" wide and the rocker switch is all of a full inch or a little more, meaning, not much of the switch is actually attached to the trim (I really don't want to be drilling holes in my dash for switches).  Thus, I took this opportunity to craft a small plexiglass bracket from a scrap piece I had laying around.  I simply cut it to the size of an index card (3x5) and marked a "bend" line about 2 inches from the front edge.  My Multi-Safer is about 1 1/2 inches wide, so the remaining inch was going to be folded up and over so that with 3M tape on the inside face, it would stick firmly to the underside of the dash, and give a bigger face for my stuff to stick to than the dash lip.


                                                         Switches
                                                         
To bend this plastic, I simply sandwiched the flat face the switches would mount to between two steel sheets, weighed down by a paint can, then used a heat gun to slowly soften the exposed width and welding pliers to pull it down and back to the desired shape.  

I lined the face that would rest against the back of the dash panel and the upper face of the piece upon which I'd mount my switches with 3M tape, and voila!  A non-conducting bracket to allow a firmer steadier seat for my switches.


NOW, back to the wiring.  I plugged everything in and.......nothing.  I checked my fuse tap; good.  I checked my splicing; good.  Then what the heck was the problem?!?!?!

Turns out, the ever so thin wires that make up the wiring harness for the Multi-Safer are extremely delicate where attached to the plug.  I had to "re-snug" them into the plug.  This is my only quality complaint of the Moto Park Multi-Safer. Either make the plug a little bigger to grip without adding tension to the wires, or make the wires a little thicker.

The BlackSys provides an app for your smartphone, and a program for your PC.  With your phone, while you're within 3 feet of your camera, you can view the files saved, or do a live feed from either camera.

For your PC, you have to connect the SD card via a USB port.  You can configure your system, view files and save them to your hard drive.

Haven't had a chance to drive with it in daylight yet.  At night, on dark roads, the rear camera doesn't show much, but both front and rear have decent low light quality.  The daylight quality appears pretty good.  It's nice to be able to stream live while driving, though do it safely.

Once I've figured out how to save files, I"ll post them on there.

Final pictures of install:  Outside front, outside rear:


Inside front, inside rear, under-dash switch bracket (Multi-Safer on left with red light, cutouts power switch on right)


Wednesday, November 2, 2016

What a crazy race and show season it has been!

The 2016 car show and racing season is quickly drawing to a close.  I'm still slow, but getting faster, and I'd say overall the mods I've done to my car have been well received.

I had high hopes this year in terms of racing; unfortunately, I was not able to do nearly as much of it as I had wanted, and my initial races this year were primarily for test & tunes on the local 1/8 mile track (SumerDuck) which is "hit or miss" in terms of track prep.

However, I was able finally to put together a short string of events these past couple of months, and while I'm no where near where others are getting their Scats to perform, I'm getting better.

First was an all day test & tune at VMP (Virginia Motorsports Park) below Richmond, in preparation for the Demon Performance sponsored Fall MSHS, where I set my (then) personal best time of 12.89 seconds.

I raced in the final day of the MSHS event, and while I had fun, I didn't do so well.

Then I attended the Mopar Eastern Classic at MIR (Maryland International Raceway) where I actually advanced to the 3rd round, and not only dropped my personal best time to 12.700, but had vastly improved 60' times, and almost replicated my best with a 12.751 in a race in which I lost by 0.0116 seconds.  All in all, I had 5 runs that night and my reaction times and 60' times were becoming consistent.

I have decided that 2017 will be the year I attend all MSHS events in my region, if at all possible. The racing bug has bitten me, and I'm definitely infected!

From a show standpoint, I truly have nothing to complain about.

I am proudest of my 1st Place finish at the Carlisle Chrysler National show, especially considering the class I was registered in: 2011 & Up Modified Challengers.  I finished third in this category in 2015, and now have to figure out what mod I'm doing next to try and repeat my success in 2017!

Numerous First and Second place finishes were earned in other shows, and I'm also quite proud of taking Best in Class at the TMP Mopar Madness show for the second year in a row.

I especially want to thank club members Anthony Robinson Jr. and Neichaun "Mopaar" Tatum for their sage advice and encouragement.  They are light years ahead of me in this world of "Mopar" but have always been willing to answer questions or provide guidance.

I'd also like to single out Michael McHugh (SuperBee) and Joe Michael Wittusen (ThunderRT), fellow show and race fanatics for their fellowship and advice, especially in the realm of drag racing...guys, I really appreciate it, and hope to give you some real competition next year!


Thursday, September 1, 2016

Steel Curtain Challenger descends upon Redskins practice facility

November 3, 2008 - a day that will live in infamy in Washington DC.

The Pittsburgh Steelers came to FedEx Field in Washington, DC for a Monday Night Football game; it was a home game for the visiting Steelers.

The Steelers defeated the Washington team (I refuse to use their other name) 23-6, but that wasn't the worst part.

The worst part was the 30-40,000 Steelers fans who took over the stadium, Terrible Towels and all.  It was so bad, the Washington Post wrote a front page article about it.  It was so bad, Washington's owner, Danny Snyder, threw a tantrum over it.

It was glorious.

Here's the on-line version of the article:

Steelers Fans Force Redskins Into Silent Count

So, here now in 2016, as a precursor to the upcoming September 12th inaugural Monday Night Football game between the Steelers and Washington at, again, FedEx Field, I decided to tweak little Danny's nose once again.

For the past 9 years, a local car dealership, Eastern Motors, has held a "Redskins Rides" car show at Washington's practice facility in Ashburn Va.  I decided that this year, in honor of the Steelers' return to FedEx, I'd attend with Renny (short for Renegade), my "Steel Curtain Challenger".

There were about 150 cars in attendance, and a slew of Washington players.  I seriously doubt though that any car engendered the same number of "WTF" reactions from the spectators and other car exhibitors as Renny did.

To add icing to the cake (or to twist Danny's nose further), Renny won First Place in the Modern American Muscle, Modified class.

It was glorious.

For a little fun, myself and the owner of a decked out "Redskins Vette" met at midfield after the show for a photoshoot.  Nice guy.  Gotta feel for him and the rest of the fans of DC's team for how low the current owner has dragged the team.


Wednesday, July 20, 2016

2016 Chrysler Nationals Carlisle - What an AMAZING show!

Mid-way through the four day event that was the Chrysler Nationals at Carlisle, I commented to a fellow Mopar enthusiast that the dang event was almost over already, after a full year of anticipation!

This was my second year in a row attending, but unlike the first year when I took hundreds of pictures of all the cars on the show grounds, I focused this year on spending time with my car club, the Unaffiliates Mopar Club, in order to meet the many new members and strengthen bonds with those I already knew.

I think it was the right strategy; I came away from this show, the largest annual Mopar event East of the Mississippi, energized and excited for my club.  Next year, I hope to branch out and network more with some of the other Mopar clubs that travel quite a ways to attend.

As to the show itself, and how my car was received, I am VERY satisfied.  Last year, I took Third Place in the 2011 and Up R/T Modified class; this year, I took First Place!

I say this not with false modesty:  I was surprised I even placed, for two reasons:

(1) It's been a full year since my model year came out, and there were a lot more modified 2015s in this class than last year, and this class already encompasses a large span of model years that have ample aftermarket products with which to make modifications, and;

(2) I took a big risk in fulfilling a dream of my youth and have a bad-ass muscle car with side pipes.  You don't see side pipes on modern cars (most can't pull off the look), and the traditional side pipe style was never commonly found on the old school Challengers.  But I had a vision and ran with it.

The response was overwhelming; most folks were immediately drawn to the pipes.  Some had initial doubts whether they were functional, which I was more than happy to dispel.  I had hoped I might be able to repeat my Third Place achievement the prior year; I never expected the tough and discerning voters, who themselves were showing their own cars, would recognize my efforts so generously.

Now, what can I do for 2017, hmmmm......?

(pictures below)

Monday, April 11, 2016

A peek at what we might expect as the next dominating Steelers' Defense

All credit goes to Behind The Steel Curtain (BTSC) member 58Steel for this article; I found it both well researched and well written.

Who knows what dark strategies are boiling away in Steelers' Defensive Coordinator Keith Butler's mind; he certainly was well tutored by his predecessor Dick LeBeau.

Give this a read; you won't regret it.


Sunday, April 3, 2016

From Conception to Execution: The evolution and realization of a Retro Mod - Part II

Part I dealt with the genesis of the idea for a way to make the modern Challenger look more "retro".

Part II details the design and fabrication process.

PART II 

With the realization that a faux body kit side pipe was not only economically unfeasible, but also not nearly authentic enough (meaning, it had to function as intended), I went to work designing real side pipes.

I chose to design my own as opposed to buying something "off the rack" for a couple of reasons.  Foremost was the fact that of the choices out there, some were either way too small and expensive (designed for Corvettes or Shelby Cobras) or were cheap chrome knockoffs found on the back pages of parts magazines.

The other reason was, the Challenger is just plain big; from wheel well to wheel well, it measures 82 inches, of which the door itself is 51 inches.  There is nothing on the market proportioned correctly.

From Conception to Execution: The evolution and realization of a Retro Mod - Part I

PART I: The Genesis of an idea

I'm a child of the '70s, but missed participating in the first American Muscle Car era.  Sure, I had a 1969 GTO 400 ci 4 barrel....for all of three days until the engine blew up and my Dad wouldn't let me sink any more money into it (or time, or take up space in the driveway with a car on blocks).  Sure, I had a 1980 Camaro Z28, but that car was but a shadow of its predecessors.

I've always loved the "muscle car " look, and consider side pipes the quintessential component of a muscle car, but for full disclosure, I never really liked the typical MOPAR side dump look.  Growing up, most of the time it looked like (and most often was) a rusty exhaust pipe with a cheap chrome tip hung by hanger as it dangled underneath the chassis.  It looked too "red neck" for my tastes.


Saturday, January 9, 2016

If You Know, You Know...

A lot of people have asked me why I've chosen to modify my car using the Pittsburgh Steelers as a theme.

A lot of Steelers fans have asked me why I chose a Dodge Challenger Scat Pack over some other current American Muscle Car.

Dodge's marketing slogan says it best: "If you know, you know".

Mopar:  Over 100 years of making some of the best mass produced performance cars in the world; owners of the legendary HEMI engine.  The only car manufacturer with the cajones to come out with a beast like the HellCat.

Pittsburgh Steelers:  My hometown team.  'nuff said.

My car's name is "Renny", short for Renegade, the defacto anthem of the Pittsburgh Steelers and Steeler Nation.

Why is a Styx song the anthem for the Steelers you might ask?  If You Know, You Know...Just watch and you might learn.

To get yinz pumped up for the playoff game today against the Cincinnati Bengals, here's a little something from Benstonium...their 2015 Season's version of 'Renegade".


Nothing Else Matters...Beat the Bungles!

This past week, I've been reading comments from Bengals fans about how obnoxious Steeler fans are; how all we do is talk about our six Lombardis, and "bitch and whine" whenever our team doesn't do well, that we're "fair weather fans".

Well, I can tell yinz this:  Unlike your team, ours has a rich history of winning.  So much so that our standard is winning the Super Bowl....unlike Bengals fans who are hoping for their first playoff victory since 1991...

So, don't blame us if we have higher standards and expectations.  While you may consider a season successful if you make the playoffs (looking at you Cleveland), or win a playoff game, from the Rooneys down to the players, to the millions of members of Steeler Nation around the globe, we strive to win Super Bowls.

You know why?

Because Nothing Else Matters


(courtesy of Benstonium) https://www.facebook.com/jagoffs/videos?fref=photo

Thursday, January 7, 2016

HERE WE GO STEELERS, HERE WE GO!!!

Despite throwing away a chance to lock up a playoff spot in Week 16 by losing to the lowly Ratbirds, the Steelers (maybe once again) were the recipients of divine intervention when the Buffalo Bills unexpectedly knocked off the Jets, thus handing the Steelers an improbable golden ticket.

Hopefully the Steelers won't come out flat against the Bungles like they did the Ratbirds; the Bengals are a quality team and even AJ McCarron is playing decently for a young backup QB.

I used to have some respect for the Bungles, and the progress they've made as they build (and re-build, and re-build) in an effort to break the longest active playoff victory drought in professional sports - now a 24 years, 25 after Saturday, but have recently lost it due to (1) the on field dirty antics of Vontez Burfict, and the obnoxious trolling Bungles fans who come from their SB Nation website Cincy Jungle to talk ignorant trash on Behind The Steel Curtain.

Not much more I can say here that hasn't already been discussed to death on other sites, so I'm simply going to post a few pictures and memes I've come across..

Grab your Terrible Towels and start twirling them now, cause...

HERE WE GO STEELERS, HERE WE GO!